If you’re tired of purchasing expensive lip balms that don’t quite meet your expectations, why not try making your own at home? Not only is it an affordable and creative way to enjoy soft, hydrated lips, but it also allows you to customize the ingredients to your liking. Whether you prefer a fruity flavor or a soothing balm, this article will guide you through the simple steps of creating your very own homemade lip balm. Get ready to embark on a fun and rewarding lip care journey!
Gather the Ingredients
To make your own lip balm at home, you will need a few key ingredients. The first ingredient is beeswax. Beeswax is a natural wax produced by bees and is known for its moisturizing and protective properties. Next, you will need shea butter, which is rich in vitamins and fatty acids that nourish and hydrate the lips. Another essential ingredient is coconut oil, which helps to lock in moisture and provides a smooth texture to the lip balm. Lastly, you will need essential oils, which add fragrance and provide additional benefits such as soothing, healing, or refreshing effects.
Prepare the Tools
Now that you have gathered all the necessary ingredients, it’s time to prepare the tools you will need. The first tool you will need is a double boiler, which consists of a small pot and a heatproof bowl that fits on top. This will allow you to melt the ingredients gently and evenly. Next, you will need measuring spoons to accurately measure out the quantities of ingredients. Additionally, you will need small containers to pour the lip balm mixture into for storage. Lastly, make sure to have a mixing utensil, such as a spoon or whisk, to thoroughly combine the ingredients.
Melt the Beeswax
To start the lip balm-making process, fill the bottom of the double boiler with water. The water should be enough to create steam but not too much that it spills over when boiling. Place the beeswax in the top of the double boiler so that it is exposed to the steam. Heat the water on the stove and allow it to gradually melt the beeswax. Be patient during this step as the melting process can take some time. Stir occasionally to ensure even melting and to avoid any clumps.
Add the Shea Butter and Coconut Oil
Once the beeswax has melted completely, it’s time to add the shea butter and coconut oil. Measure out the desired amounts of shea butter and coconut oil and add them to the melted beeswax. The ratio of these ingredients can be adjusted according to your personal preference, whether you prefer a softer or firmer lip balm. Stir the mixture continuously until all the ingredients are fully melted and well combined. This step is crucial to ensure a smooth and uniform texture in the final lip balm.
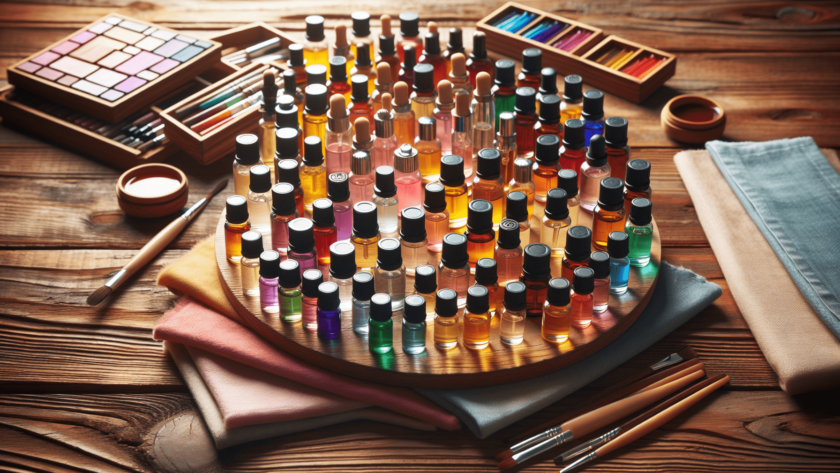
Choose Your Essential Oils
Now comes the fun part – choosing your essential oils! Select essential oils based on your personal preferences and desired scent. Consider the benefits each essential oil offers, such as soothing properties like lavender or healing properties like tea tree oil. Keep in mind that different essential oils have different strengths, so start with a few drops and adjust as needed. Add the essential oils to the mixture and stir well to ensure even distribution.
Mix and Transfer
To ensure that the essential oils are evenly distributed throughout the lip balm mixture, continue to stir it well. This will prevent any concentration of oils in one area and provide a consistent scent and benefits in every use. Once you are satisfied with the mixture, it’s time to transfer it into small containers. Carefully pour the mixture into the containers, leaving a little space at the top. This space will allow the lip balm to solidify without overflowing. Take your time to pour the mixture neatly to avoid any mess or spills.
Label and Store
After pouring the lip balm mixture into the small containers, it’s important to label them. Create labels with the name of your homemade lip balm and include the list of ingredients. This will not only help you identify the different lip balms if you make multiple variations but also provide important information for anyone using your lip balm. Include the date of creation on the label as well, as lip balms have a shelf life of around 1-2 years. Once labeled, store the lip balms in a cool, dry place to maintain their consistency and effectiveness.
Variations and Customizations
Making your own lip balm provides endless opportunities for creativity and customization. Experiment with different oils and butters to create unique formulations that cater to your specific needs. For example, you can try using cocoa butter instead of shea butter for a richer texture. Adding natural colors like beetroot powder or cocoa powder can give your lip balm a touch of color. Additionally, you can adjust the scent intensity by altering the ratio of essential oils. Have fun exploring different combinations and find your favorite custom lip balm recipe.
Tips and Precautions
While making lip balm at home is a fun and rewarding process, it’s essential to keep a few tips and precautions in mind. Firstly, ensure that the containers you use to store your lip balm are clean and sterilized. This will prevent any contamination that could compromise the quality and safety of your product. Secondly, start with small amounts of essential oils and gradually increase according to your preference. Some essential oils are potent and can easily overpower the scent or cause sensitivity, so it’s important to test and adjust accordingly. Lastly, avoid using citrus oils in your lip balm, as they can increase the skin’s sensitivity to sunlight and potentially lead to sunburn.
By following these simple steps and guidelines, you can easily create your own personalized lip balm at home. Not only will you enjoy the process of making it, but you’ll also experience the benefits of using a natural and nourishing product on your lips. Say goodbye to chapped and dry lips, and say hello to soft and moisturized lips with your very own homemade lip balm. Enjoy the journey of self-care and creativity as you indulge in the world of lip balm making!