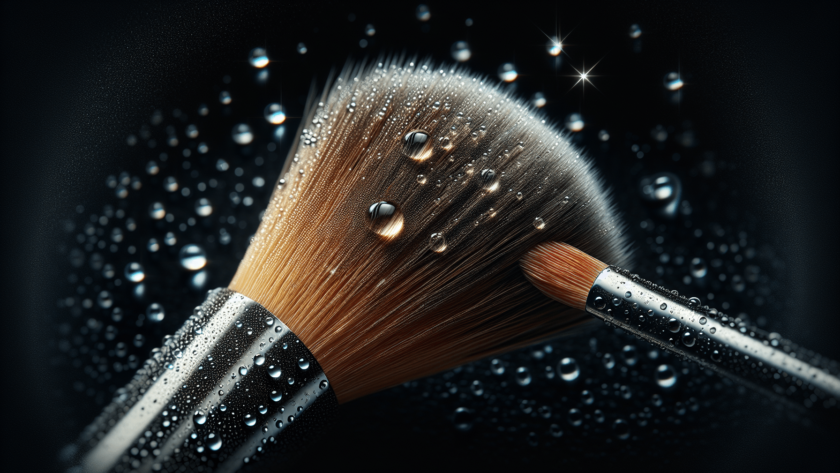
Looking for a quick and easy way to keep your makeup brushes looking fresh and ready to use? Look no further! In this article, we’ll show you the best techniques and products to effectively clean your makeup brushes, leaving them free of bacteria and residue. Whether you’re a beauty guru or a beginner, our step-by-step guide will ensure that your brushes stay in top condition, guaranteeing a flawless application every time. Say goodbye to clogged pores and hello to clean, healthy brushes with our simple and effective cleaning tips.
Gather the Necessary Supplies
To effectively clean your makeup brushes, you’ll need to gather a few essential supplies. First and foremost, it’s important to choose a gentle cleanser that is specially formulated for brushes. Look for a cleanser that is gentle enough to remove makeup residue without harshly stripping the bristles of their natural oils. Additionally, you’ll need a clean towel to lay your brushes on during the drying process. Having a bowl of lukewarm water is essential for wetting and cleansing the brushes. Lastly, it’s recommended to have a clean, dry surface ready to lay your brushes on after cleaning. If you prefer, you can also use a brush cleaning mat or glove for added convenience, but this is optional.
Remove Excess Makeup from the Brushes
Before you begin the actual cleaning process, it’s important to remove any excess makeup from your brushes. This step will help to ensure a more thorough cleaning and prevent the buildup of old makeup residue. To do this, gently wipe off excess product using a tissue or paper towel. Be careful not to use too much pressure, as this can potentially damage the bristles. Remember, the goal is to remove excess makeup without causing any harm to the brush itself.
Wet the Brushes
Once you have removed the excess makeup, it’s time to wet the brushes. Hold the brush with the bristles facing downwards to prevent water from seeping into the ferrule or getting the handle wet. It’s crucial to avoid water damage to the handle and ferrule, as this can lead to bristle shedding or loosening of the glue that holds the bristles in place. Submerge the bristles into a bowl of lukewarm water, making sure to cover only the bristles and not the handle or ferrule.
Cleanse the Brushes
After wetting the brushes, it’s time to cleanse them thoroughly. Take a small amount of cleanser onto your palm or onto a brush cleaning mat if you have one. Gently swirl the brush bristles in circular motions, ensuring that all areas of the bristles come into contact with the cleanser. Pay attention to creating a good lather and continue to rinse and repeat until the water runs clear. This process may need to be repeated for each brush, especially if they have been heavily saturated with makeup.
Rinse the Brushes
Once you have thoroughly cleansed the brushes, it’s important to rinse off any remaining soap and residue. Under gently running water, rinse each brush, ensuring that all traces of the cleanser are removed. Take care to avoid getting water into the ferrule or handle, as this can cause damage and affect the overall functionality of the brush. Rinse each brush until the water runs clear, indicating that all residue has been removed.
Remove Excess Water
After rinsing the brushes, gently squeeze the bristles with your fingers to remove excess water. Be careful not to pull on the bristles, as this can cause damage or lead to shedding. Instead, focus on lightly squeezing and pressing the bristles to release any remaining water. By removing excess water, you’ll ensure faster drying time and prevent any potential damage that can occur from prolonged exposure to moisture.
Reshape the Brushes
To maintain the optimal shape and performance of your brushes, it’s important to reshape the bristles after cleaning. Use your fingers to gently reshape the bristles, ensuring they return to their original shape. Make sure that the bristles are not splayed or misshapen, as this can affect the even application of makeup. By taking the time to reshape the brushes, you’ll prolong their lifespan and enhance their functionality.
Dry the Brushes
Drying your brushes properly is crucial to avoid any damage or mold growth. There are two methods you can choose from for drying your brushes: laying them flat on a clean towel or hanging them upside down with the bristles facing downward. If you choose to lay them flat, make sure to place them on a clean towel or paper towel to absorb any excess moisture. Alternatively, you can hang your brushes upside down, allowing any remaining water to drip away from the bristles. This prevents water from seeping into the ferrule, which can lead to damage and deterioration over time. Whichever method you choose, ensure that your brushes are placed in a well-ventilated area to facilitate proper airflow and faster drying.
Condition (optional)
While this step is optional, it is beneficial for those who have natural hair brushes. After your brushes have completely dried, you may choose to apply a small amount of conditioner to the bristles. This will help to keep them soft and prevent the bristles from becoming brittle over time. Simply apply a small amount of conditioner to your fingertips and gently work it into the bristles. Be careful not to overload the brush with conditioner, as this can lead to a greasy residue. Conditioning your brushes can help to maintain their softness and prolong their lifespan.
Clean Brush Handles
In addition to cleaning the bristles, it’s important to pay attention to the handles of your brushes as well. To clean and disinfect the handles, you can use an alcohol-based spray or wipe. Simply spray or wipe the handles, ensuring you cover the entire surface area. Allow the handles to air dry completely before using the brushes again. This step helps to remove any bacteria or buildup that may be present on the handles, ensuring a hygienic application of makeup.
By following these step-by-step instructions, you can effectively clean your makeup brushes and ensure that they remain in excellent condition for future use. Regularly cleaning your brushes not only helps to maintain their performance but also helps to prevent the transfer of bacteria and minimize the risk of breakouts. So, set aside some time for a brush cleaning session and enjoy the benefits of clean and well-maintained makeup brushes!


