Welcome to this article on how to apply self-tanner! In this guide, you will learn simple and effective tips for achieving a flawless, natural-looking tan at home. From preparing your skin to the perfect technique for application, we’ve got you covered. Say goodbye to streaks and orange tones, and hello to a beautiful, sun-kissed glow all year round! Let’s dive in and get glowing! How To Apply Self-tanner?
Have you always wanted to achieve a sun-kissed glow without exposing your skin to harmful UV rays? Self-tanner is a safe and effective alternative to traditional tanning methods. In this article, we will guide you through the process of applying self-tanner to achieve a natural-looking tan at home. Let’s get started!
Choosing the Right Self-tanner
Before you start the application process, it is essential to choose the right self-tanner product for your skin tone and type. The market is flooded with various self-tanning products, including lotions, sprays, mousses, and gels. Here are some tips for selecting the best self-tanner for you:
- Skin Type: Consider your skin type when choosing a self-tanner. If you have dry skin, opt for a self-tanner with moisturizing properties. For oily skin, choose a quick-drying formula.
- Skin Tone: Different self-tanner products are formulated for specific skin tones. Select a product that suits your natural skin tone for a more natural-looking tan.
- Application Method: Think about your preferred application method. Lotions are great for beginners, while sprays are more suitable for experienced users.
Remember to always do a patch test before applying self-tanner to ensure you are not allergic to any of the ingredients.
Preparing Your Skin
Preparing your skin before applying self-tanner is crucial to achieving an even and long-lasting tan. Follow these steps to prepare your skin for self-tanner application:
- Exfoliate: Use a gentle exfoliating scrub to remove dead skin cells and create a smooth canvas for the self-tanner. Pay special attention to rough areas like elbows, knees, and ankles.
- Shave or Wax: If you typically remove hair from certain areas of your body, do so before applying self-tanner. This will prevent uneven coloration and ensure a more even application.
- Moisturize: Hydrated skin will absorb self-tanner more evenly. Apply a lightweight moisturizer on dry areas like elbows, knees, and ankles to prevent streaking.
- Avoid Perfume and Deodorant: To prevent interference with the self-tanner application, avoid using perfume, deodorant, or any other skincare products on the day you plan to apply self-tanner.
By following these steps, you will create a suitable environment for self-tanner application and achieve a flawless tan.
Application Techniques
Now that you have selected the right self-tanner and prepared your skin, it is time to apply the product. There are several application techniques you can use, depending on the type of self-tanner you have chosen. Here are some popular methods for applying self-tanner:
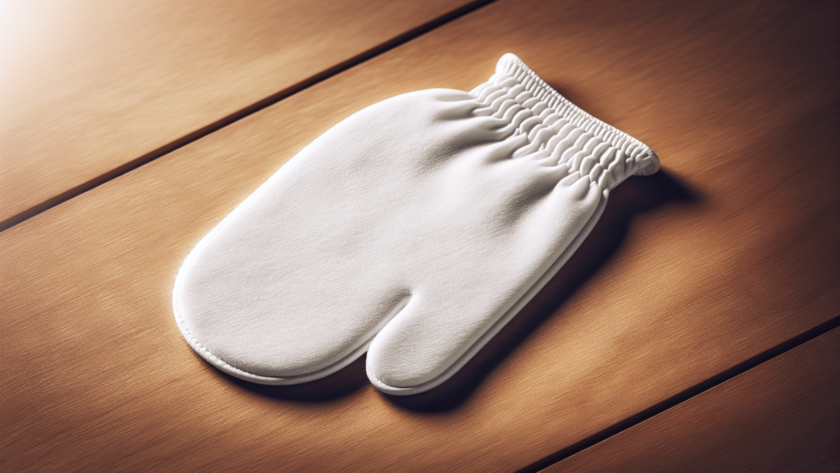
Using a Mitt
- Step 1: Prepare the Mitt: Put on a tanning mitt or latex gloves to prevent staining your hands. This will also help distribute the self-tanner more evenly.
- Step 2: Pump the Product: Dispense a small amount of self-tanner onto the mitt and start applying it to your skin in circular motions.
- Step 3: Blend Well: Make sure to blend the product well, focusing on areas like elbows, knees, and ankles. Use circular motions to prevent streaking.
- Step 4: Check for Missed Spots: Once you have applied the self-tanner all over your body, check for any missed spots and touch them up as needed.
- Step 5: Wash Your Hands: After applying the self-tanner, wash your hands thoroughly to avoid staining your palms.
Using a Spray
- Step 1: Prepare Your Skin: Stand in a well-ventilated area and put on a tanning tent or old clothes to prevent the spray from getting on your surroundings.
- Step 2: Spray Evenly: Hold the spray can about six inches away from your body and spray in smooth, even strokes. Keep the can moving to avoid concentrated color in one area.
- Step 3: Reach Tricky Areas: Use a mirror or ask for assistance to reach areas like your back that may be difficult to spray on your own.
- Step 4: Allow to Dry: Wait for the self-tanner to dry completely before getting dressed to prevent staining your clothes.
Whichever application method you choose, make sure to take your time and apply the self-tanner evenly for the best results.
Aftercare Tips
After you have applied self-tanner, it is essential to follow some aftercare tips to ensure your tan lasts as long as possible. Here are some tips for maintaining your self-tan:
- Avoid Water: Refrain from showering, swimming, or sweating for at least 8 hours after applying self-tanner to allow the product to develop fully.
- Stay Moisturized: Hydrate your skin regularly with a gentle moisturizer to extend the life of your self-tan. Dry skin can cause the color to fade unevenly.
- Avoid Exfoliating: Steer clear of harsh exfoliants or scrubs that can strip away your tan. Instead, opt for a gentle exfoliating product to maintain a smooth skin surface.
- Touch Up as Needed: If you notice areas where the tan is fading unevenly, touch them up with a gradual tanning lotion or spray to maintain an even color.
By following these aftercare tips, you can enjoy a long-lasting and beautiful self-tan without any hassle.
Troubleshooting Common Issues
Even with proper preparation and application techniques, sometimes self-tanner can result in unexpected issues. Here are some common problems you may encounter and how to troubleshoot them:
Streaking
- Cause: Streaking can occur due to uneven application or using too much product in one area.
- Solution: To fix streaks, exfoliate the affected area gently and moisturize regularly to help the color fade evenly. In the future, apply self-tanner more evenly and blend well.
Orange Undertone
- Cause: An orange undertone can result from using a self-tanner with too high a level of DHA (the active ingredient in self-tanners).
- Solution: Choose a self-tanner with a lower DHA content for a more natural-looking tan.
Uneven Coloration
- Cause: Patchy or uneven coloration can be the result of not exfoliating properly before applying self-tanner or using an expired product.
- Solution: Exfoliate the affected areas gently and apply a gradual tanning lotion to even out the color. Check the expiration date on your self-tanner before use.
By addressing these common issues and implementing the suggested solutions, you can troubleshoot any problems that arise during the self-tanning process.
Conclusion
Applying self-tanner can be a fun and rewarding experience when done correctly. By choosing the right product, preparing your skin, using appropriate application techniques, and following aftercare tips, you can achieve a natural-looking tan at home. Remember to take your time, be patient, and enjoy the process of enhancing your skin with a beautiful sun-kissed glow. Happy tanning!